ARTISAN SOURDOUGH BREAD RECIPE
INGREDIENTS:
100g Active Starter
330g Filtered water
500g Organic Artisan Bread Flour (you can substitute a % of this flour with whole ancient grains. The higher the %, the denser the loaf. Some grains such as spelt will need less water, while other whole grains may require more water (up to 10%)
10g Real Salt (i.e. Redmonds Real Salt)
STEPS:
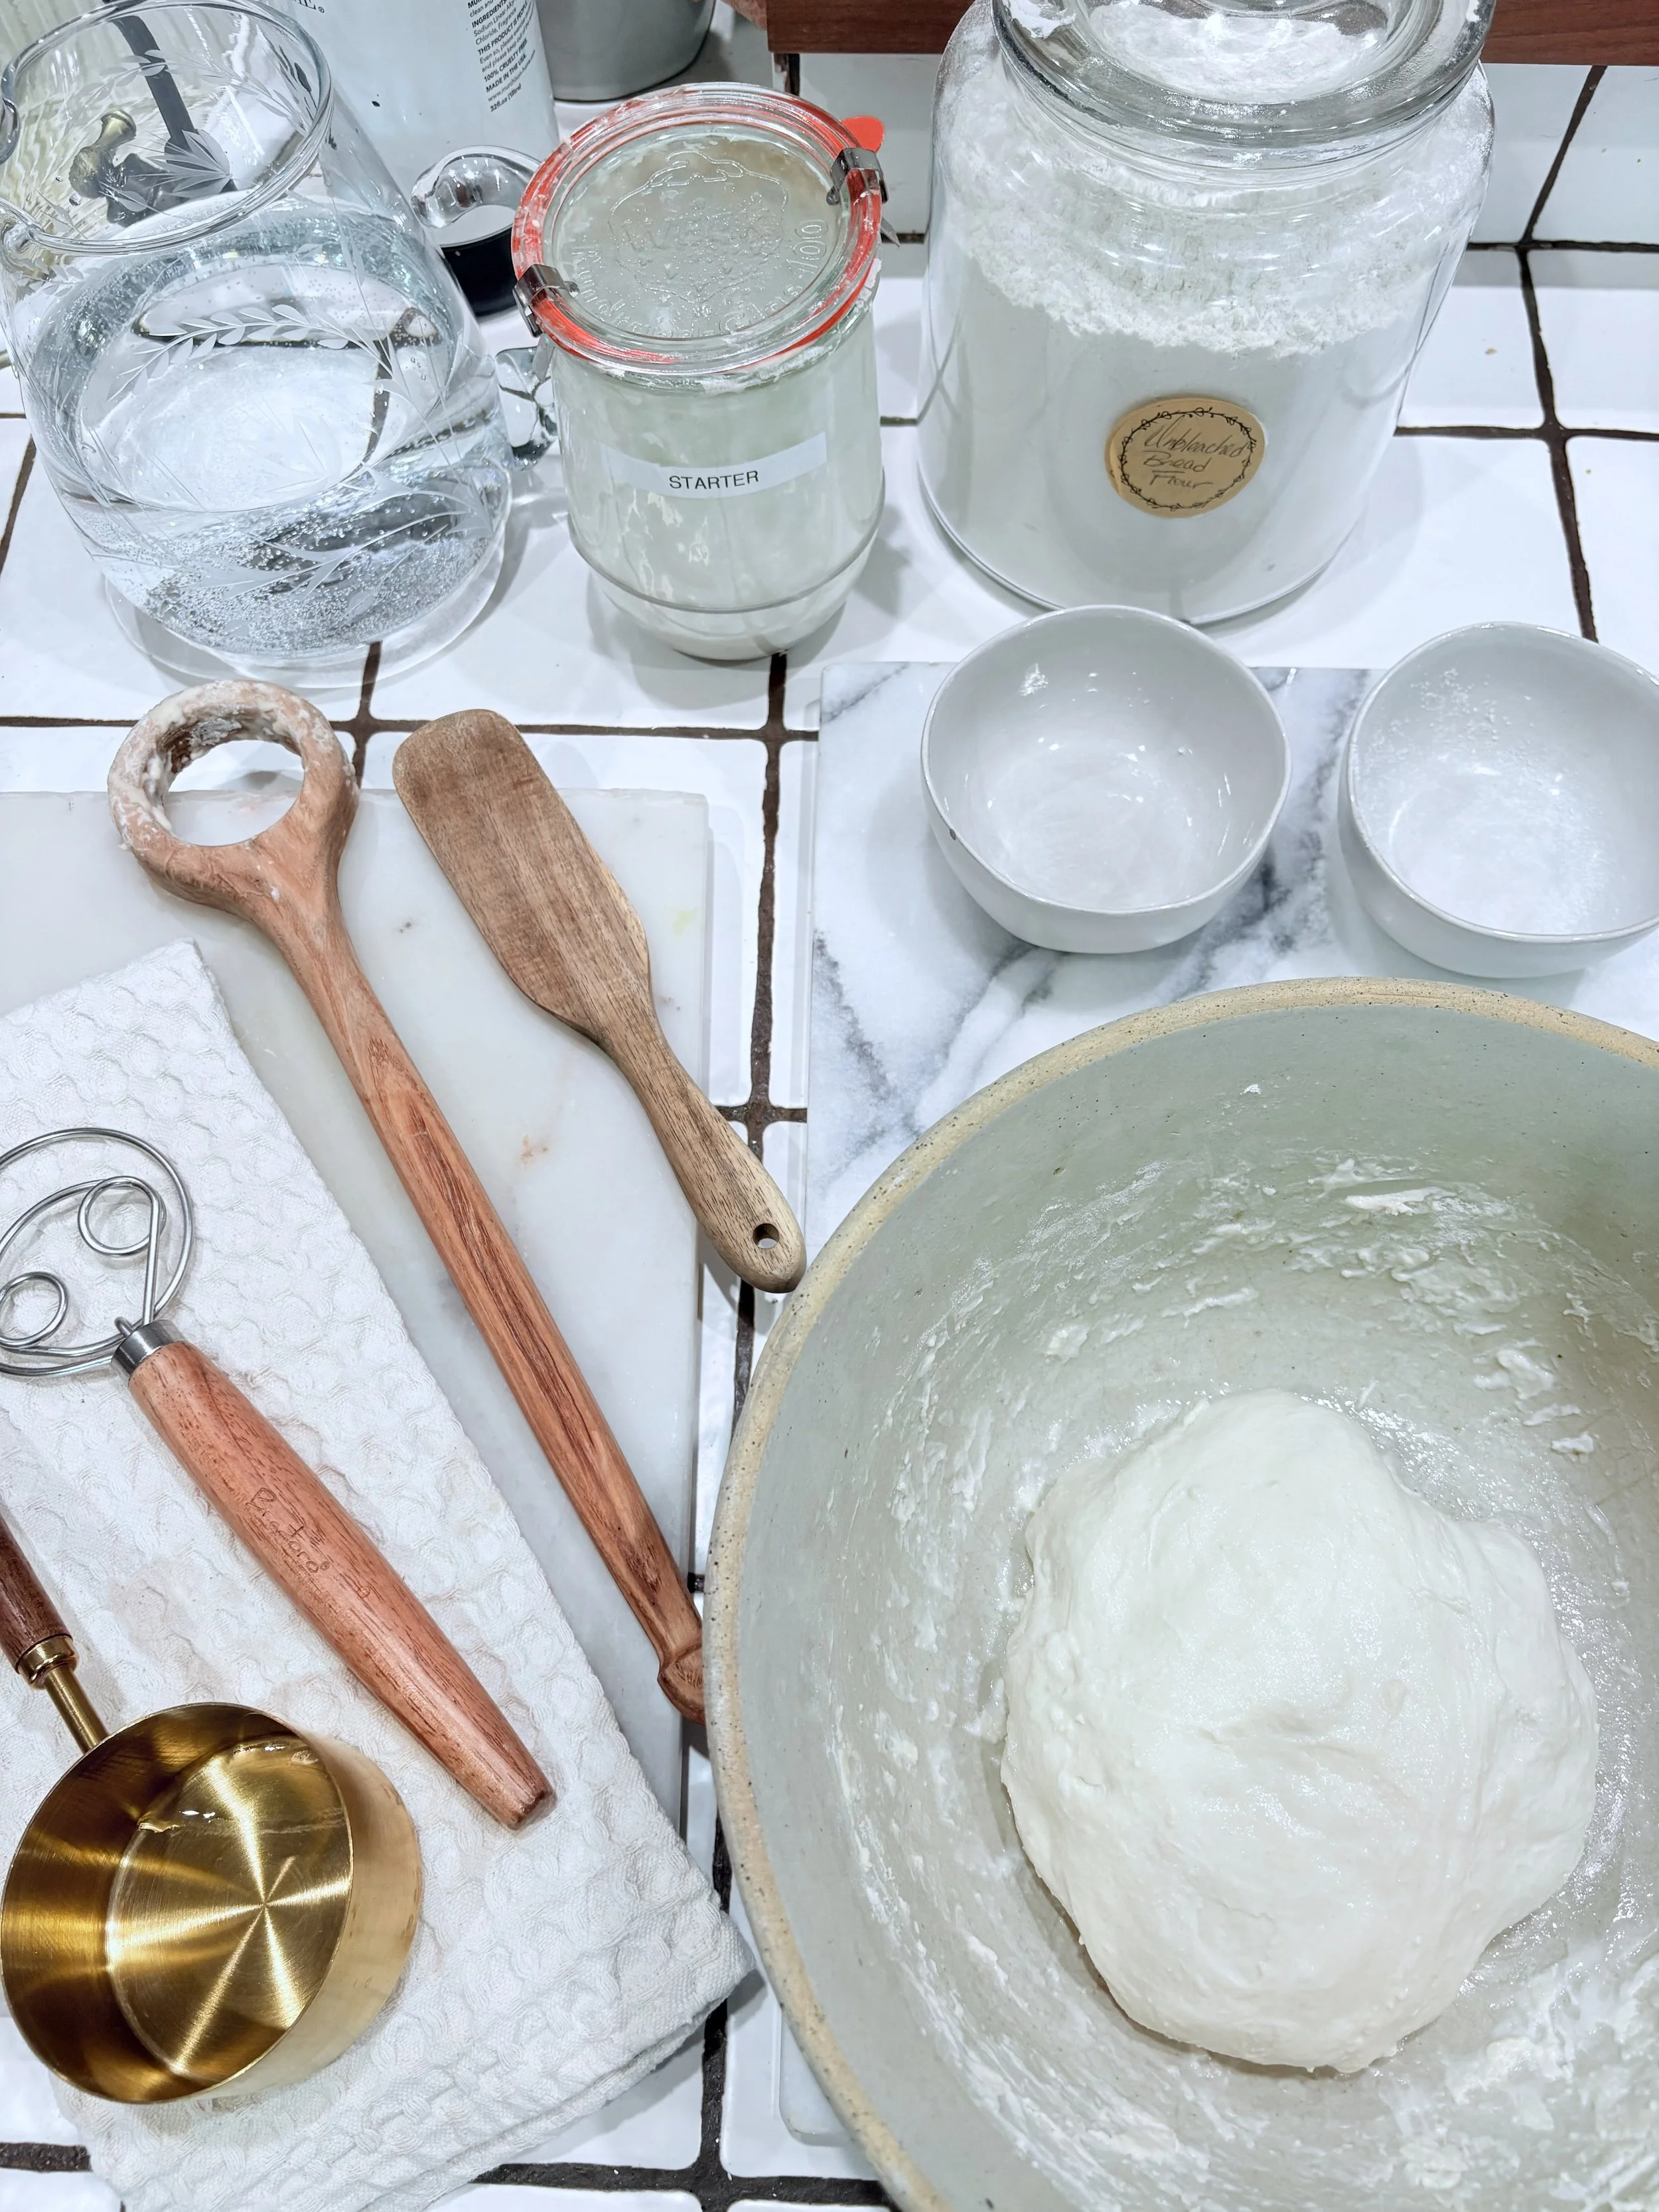
Mix - Add 100g of starter into a bowl with 310g of filtered water (reserve the remaining 20g of water for when you add in salt after the first rest); mix until the starter dissolves. Then add 500g of Organic Bread Flour and mix until no dry flour remains.
First Rest - Put a place or damp towel over your bowl and rest at room temperature for 1 hour.
Add Salt - Add 10g of salt and 20g of your reserved water to the dough and pinch in the salt. Once the salt is well incorporated, knead the dough until it comes back together (some separation will happen to your dough due to the added water, this is completely normal.) Place dough on the counter and perform a couple sets of stretch and folds. Next, place the dough back in your bowl and cover and let rest for 1 hour.
Stretch and Folds - Wet your hands and perform 5 sets of stretch and folds 30 minutes apart. (This step helps build the gluten in your dough which makes your bread have a great rise and texture). After the 5th stretch and fold, let your dough rest for 1 hour. Pre-Shape - Remove the dough from your bowl and place on the counter. Stretch the dough into a rectangular shape; for the sides into the center (vertically), then roll up the dough and form it into a tight ball. Let the dough rest uncovered on the counter for 30 minutes. (Dough will flatten out during this step due to the gluten relaxing).
Final Shape - Using a bench scraper, or your hands, tighten your dough back into a ball. Once tight, use the bench scraper to lift the dough off the counter and flip it into your proofing basket seam side up. Use your hands to tighten the seam by pinching the dough. Sprinkle all purpose flour on the top and cover with a linen towel.
Second Rise: You can either do an ambient proof, where your dough sits at room temperature for an additional 1.5-2 hours, or an overnight proof in the fridge lasting 12-16 hours. This longer, slower, proofing really makes your bread develop a delicious flavor and it stiffens the dough for scoring. I typically make my dough and let it proof in the fridge overnight so I can bake in the morning and have freshly baked bread for breakfast.
Score - After your bread has proofed, you will need to score your bread to allow for expansion in the over. You will start by flipping your dough out of your proofing basket onto parchment paper. You will then dust the top of your loaf with rice flour or all purpose flour, whatever you have handy. Next you will score your bread; you can do this by creating a simple wheat stalk design (1⁄4 inch for aesthetics) or for a deep score (1⁄2 inch) to allow for good expansion in the oven. Bake - Preheat your oven to 450 degrees (put your “empty” dutch oven in the oven at this time to heat up) . Place your dough in the dutch oven, or any large oven-safe pot with a lid, and bake covered for 25 minutes. Then take the lid off and back for an additional 20 minutes. Next (will depend on your oven-I don’t need to do this last step), remove your loaf from the dutch oven and place directly on the oven rack for an additional 10 minutes. Lastly, remove bread from the oven and place on a cooling rack.
Allow bread to cool before cutting. Enjoy!!!!


